Building on our foundations
IT’S AS EASY AS 1, 2, 3…
Step 1 - Insulate
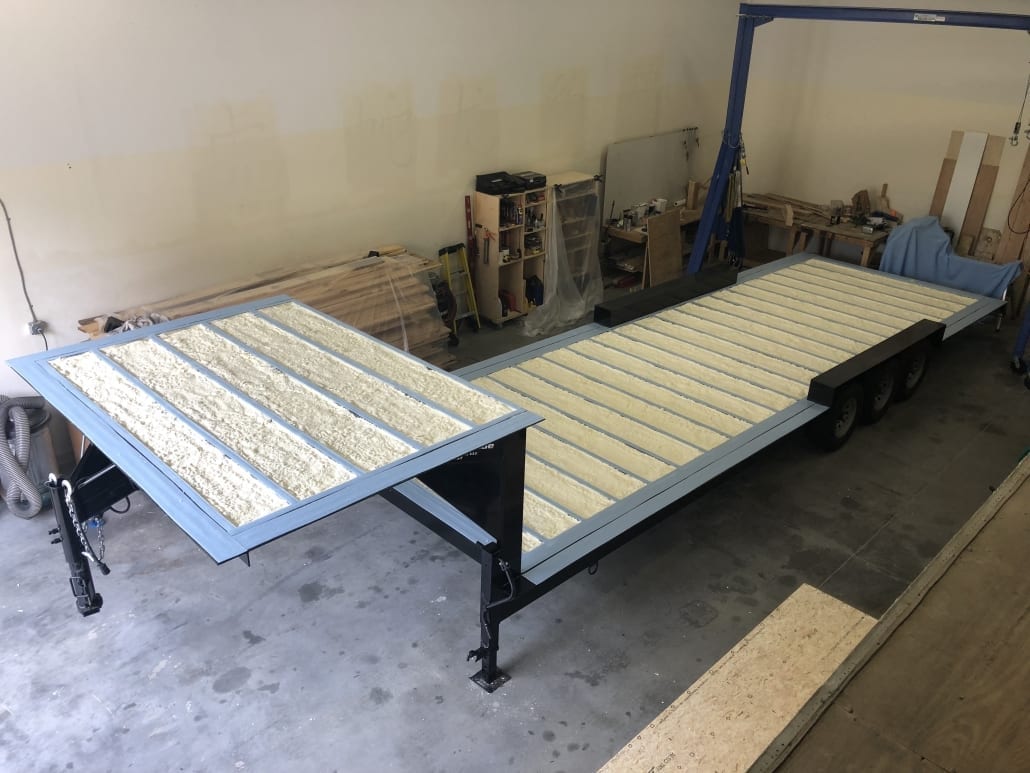
Our tiny house foundations come standard with pre-installed belly pan flashing. This flashing protects the underside of your house and also provides a base for your insulation. Our recommendation is to use closed-cell spray foam insulation, which is water, mold, and pest-resistant, and provides a high R-value. However, the flashing provides a platform for any kind of insulation you choose. Six inches of floor spacing provides enough room for up to R43 floor insulation if you fill the entire cavity with closed-cell spray foam. You will also need a moisture barrier between the steel elements and your subfloor. We recommend a layer of sill-seal (shown in blue).


Step 2 - Subfloor
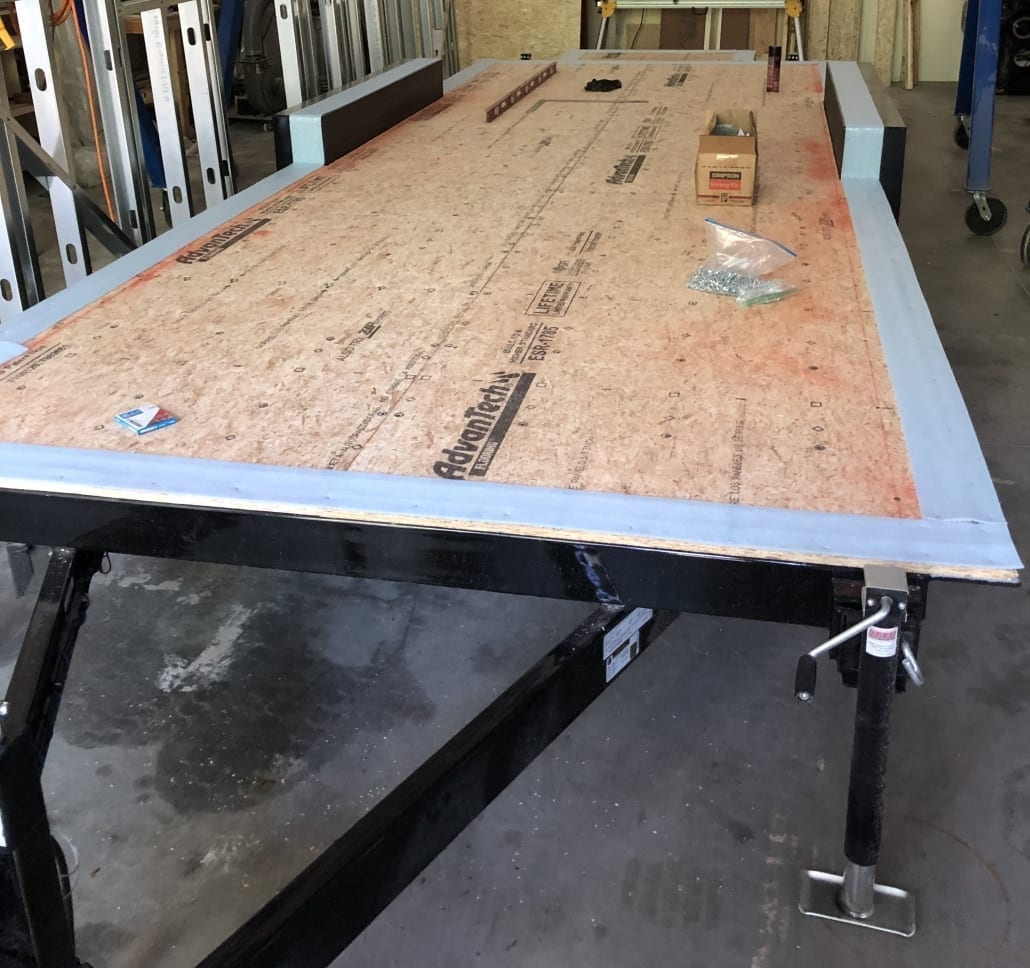
Your tiny house foundation’s structure is designed to provide your subfloor support structure as well. Following insulation, lay down your moisture barrier and secure the subfloor. Not looking forward to all of the drilling, screwing, and bending? Let us handle it for you! You have the option for us to pre-insulate and pre-install the subfloor so you’re ready to build!
Step 3 - Framing
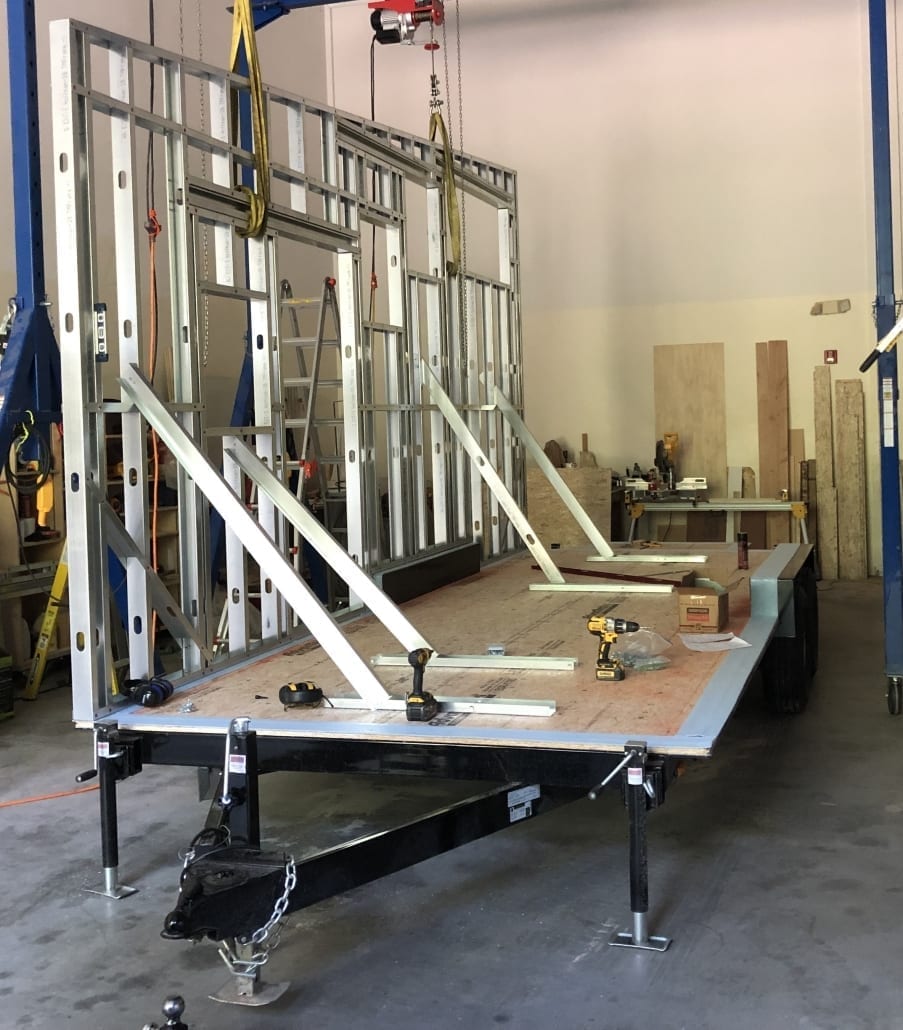
You’re ready to frame and stand your walls! The sill plate along the foundation’s perimeter is designed to handle all of the structural loads from the walls. The sill plate also allows you to secure your structure with appropriate hardware, just like a traditional house. Using Simpson Strong Ties’ HTT4 or HTT5 tension tie and 5/8″ bolts, along with other fasteners at regular intervals along your bottom plates, your house is ready to withstand the forces it will be subjected to both while traveling down the road and sitting stationary.


That’s all, folks!
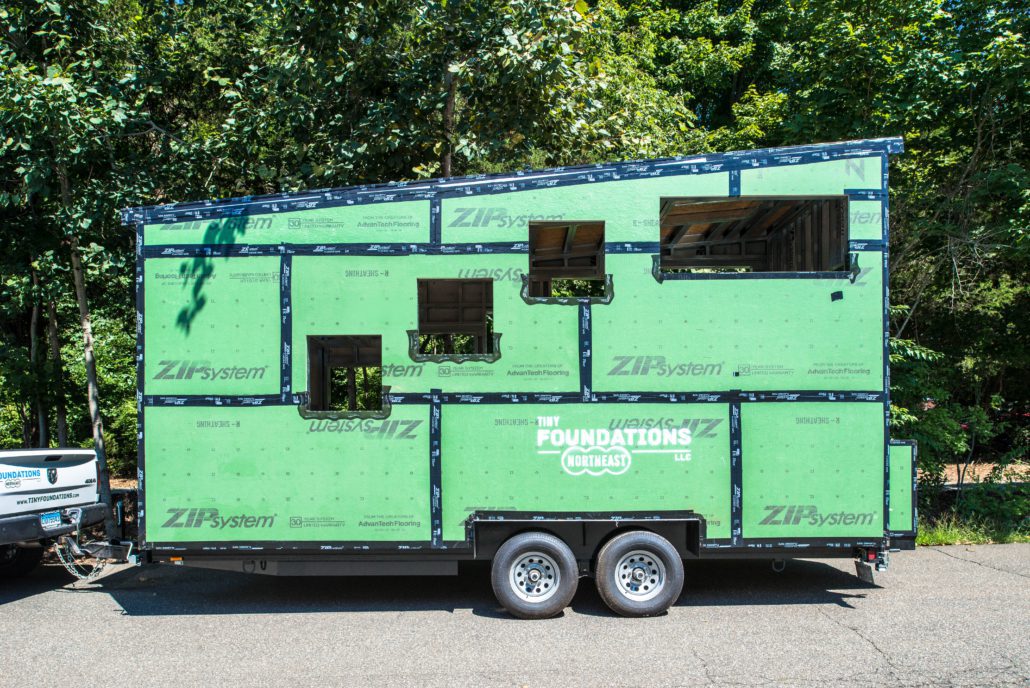
After your framing is complete and secured appropriately, continue construction as you would any traditional structure with the roof framing, sheathing, windows, roof & siding, and then rough mechanicals and interior. At this point, you’re well on your way to your home!
